Friday, June 29, 2012

Friday is PIE DAY!

Women Who Really Cook is a fantastic local organization filled with women who make food their living, or like me, make food a little part of their work. However big a role food takes in each of our lives, we all love food, and we are all there to support each other in any way we can. Monthly meetings are held at rotating member owned locations. Last week, our meeting was at Annona Gourmet. Oil and vinegar "bars" have been getting a lot of press lately, but I had yet to visit one. Jean Rarick, the owner, had wonderful sample food out highlighting the various vinegars and oils she carries in the shop.

Flavored balsmics seemed like a natural fit for some exciting new pie creations, so I purchased a few, and their fig balsamic inpired this new pie!

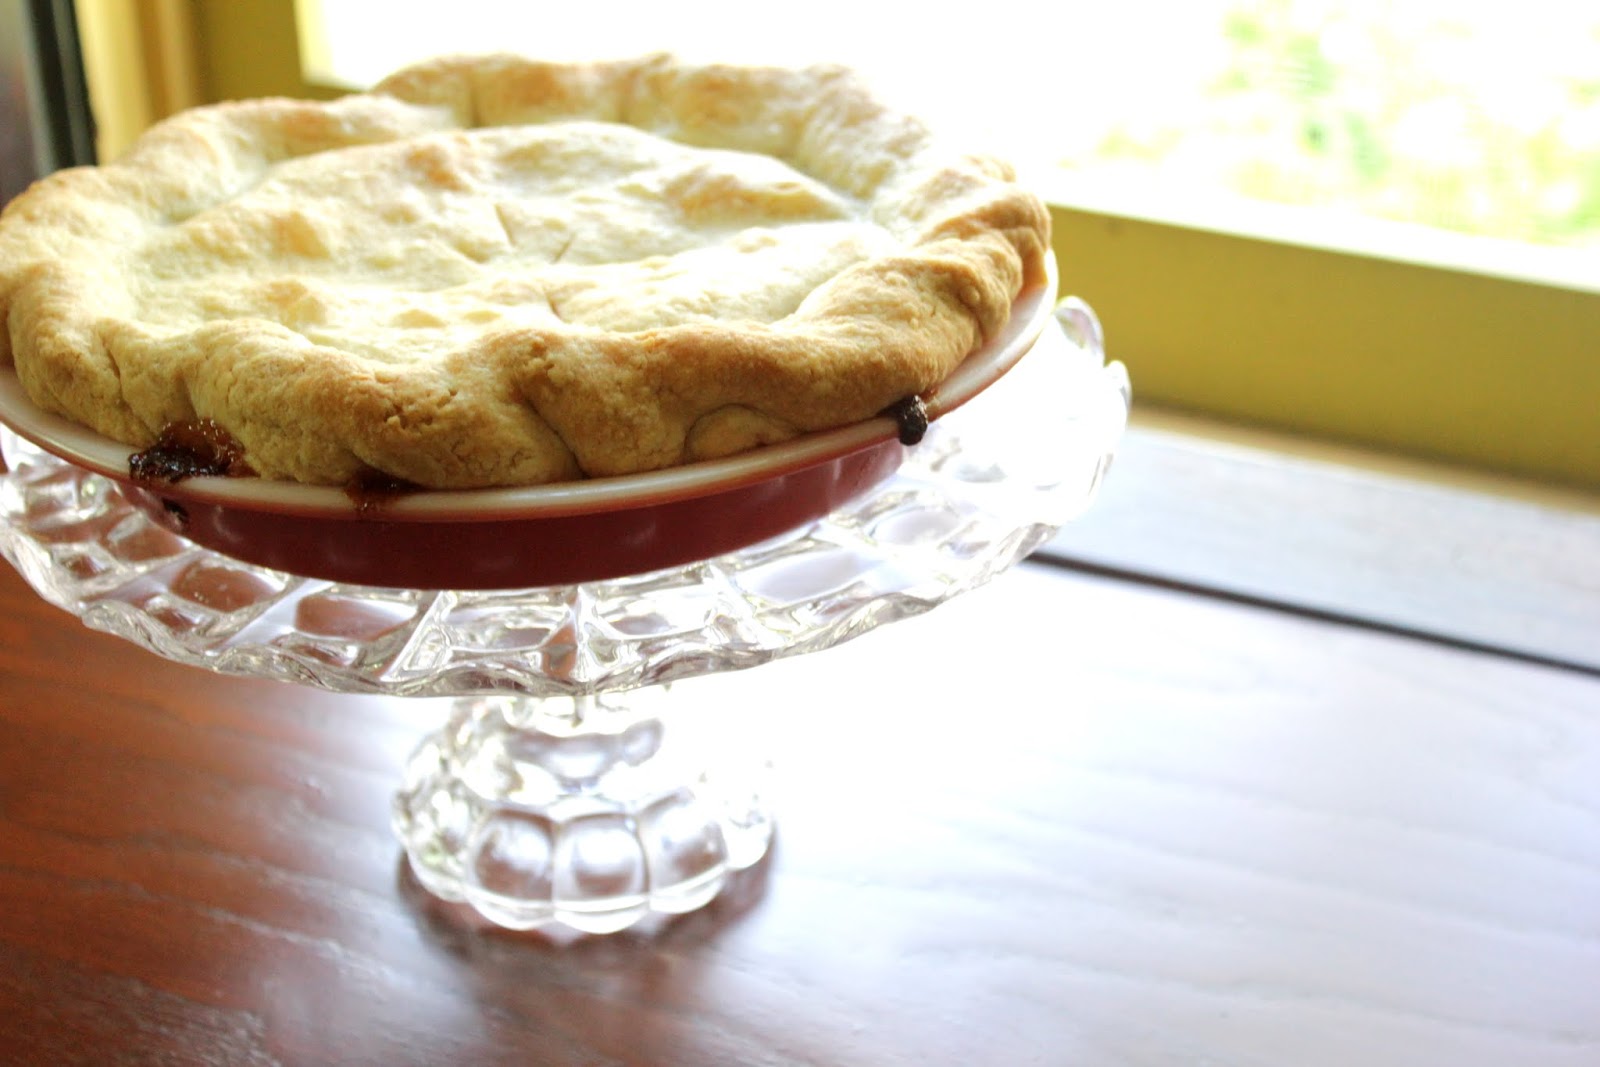
Custard Pie with Balsamic Figs and Bananas

single 10" pie crust

1/4 cup fig balsamic vinegar
1 T brown sugar
5 fresh figs, sliced thickly
2 large bananas, sliced thickly

4 eggs
2 cups milk
2/3 cup sugar
1/2 t vanilla
1/4 t salt

-combine balsamic and brown sugar in medium nonreactive skillet
-bring to a boil, stirring constantly
-reduce to a simmer
-simmer 10 minutes, stirring as needed to prevent burning
-add sliced figs and bananas to skillet
-stir to coat fruit
-simmer additional 10 minutes, stirring occasionally
-remove from heat and let cool completely

I grabbed a taste of this right after it was done, and had to hold myself back from just grabbing a spoon and eating the whole bowl. I honestly didn't expect to find it so tasty on its own...would be fantastic spooned over vanilla ice cream for an easy summer dessert!
But for our purposes today, on to the custard....

-in large bowl, whisk eggs and milk together for 2 minutes
-add sugar, vanilla, and salt
-whisk additional 2 minutes
-pour into prepared pie crust
-bake at 425 degrees for 10 minutes
-reduce heat to 350 degrees
-bake 15 minutes
-carefully remove from oven and spoon fruit mixture onto top of pie
-bake 20 minutes, until firm
-cool on rack
I LOVE this pie. The simple custard is the perfect base for all that fruity, tangy, rich fruit.
Happy, happy PIE DAY!
xo Christine

copyright (c) Pies and Aprons June 2012

Friday, June 22, 2012

Friday is PIE DAY!


If two tarts do not make a right, try three.
I went all out this week. Cranberry, lemon, AND lime.
Oh yes.
I meant to get this post up earlier, but this has been the scene on my deck for the past two hours or so.
Enticed by the idea of sampling a new pie, my neighbors made tea and we all settled in for the tasting.
It is a perfect summer afternoon here, so you can understand why I was delayed......it rolled right into cocktail hour, just like summer days should.
I had a couple of dubious responses when I told people the combination,
but the taste test got a thumbs up from 4 out of 4 participants.
To quote hubby, "I didn't think it could be THIS good."
(A ringing endorsement:)
I do wish I had been rolling camera when he took the first bite.
His expression spoke much louder than his words this time.
I'm certain this pie will win a spot in my regular rotation of favorites.
I also hope it might win something else, so I am, please don't hate me, not sharing this recipe yet.
Sometimes, an experiment turns out so well I feel I need to keep it under wraps.
Just for a bit. (I'm such a tease)

Happy, happy PIE DAY!
xo Christine


Friday, June 15, 2012

Friday is PIE DAY!

Rhubarb pie and sour cherry pie, respectively, are two of my favorites. Usually, when I have the good fortune of being the recipient of sour cherries, I prefer not to sully them with any other ingredients. This week, fortune smiled on me once again, but was limited to a mere cup of sour cherries. This was my chance to experiment with combinations. Naturally, I chose rhubarb. Two of my favorites fruits in one pie could not possibly go wrong, right? Well, I'm here to tell you. Two tarts do not make a right. The flavor was not what I expected, and the extreme pucker inducing qualities of the two together was a bit much, even for a sour puss like me. Not terrible (I ate a whole piece in the name of taste testing), but it needs some fine tuning.
So, no recipe this week, but I'll keep experimenting with this one. Leave ideas below!

Happy, happy PIE DAY!
Christine


Friday, June 8, 2012

Friday is PIE DAY


To finish off Ribbon Week!, I have an adorable packaging idea for your sweet treats.
In my case, mini pies of course!
You could also tuck in cookies or donuts.....
At the seam, cut off the bottom part
of a lunch size paper bag.

Wrap some sassy ribbon round and round,
then tie in a knot.
Use glue to add a scrapbook bit
to a white paper tag.
Label your goodies
and glue tag to package!
Happy Happy PIE DAY!

xo Christine

Thursday, June 7, 2012

Ribbon Week: Day 4

Last night I thought, "Hmmmm....my ribbon posts thus far have been fairly easy projects. Maybe I should hit them with something more in-depth tomorrow." Then I thought......nah. Summer is so fleeting and busy that we all want projects that come together fast and look great. This garland is a super quick and super cute way to dress up a summer party. I did a tabletop version, but you could string them all over the house, patio, or garden!
 Jute twine and wide wired ribbon
are all you need!
Pick a spot for your garland,
then cut a length of twine to fit.
Tie with a double knot onto your "posts".
Cut short lengths of ribbon.
I used the pattern to guide me here,
cutting 4 sunflowers.
About 8 inches will be long enough to form the flags.

Fold the lengths in half,
making sure the seam is creased well.
Slip the flags over your twine
and get ready to party!

Wednesday, June 6, 2012

Ribbon Week: Day 3

I really love this project.
So much, that I made a bunch,
and am using them in my studio
to hold this and that...
things like, oh say, ribbon scraps.

What wonders we can do
with recycled cans and craft supplies!
I used an No. 2 size can
and large spools for these,
but they would be sweet
 in a mini version too.

1. Remove the label from the can.
2. Cut a piece of tree wrap to fit around can
(I'm crazy for tree wrap!)
3. Use a hot glue gun to secure tree wrap
4. Use more hot glue to mount 3 spool "legs" to the bottom of can
5. Finish off with a sweet length of ribbon tied atop the tree wrap
6. Fill with a plant, flower, kitchen utensils, ribbon scraps.....

Tuesday, June 5, 2012

Ribbon Week: Day 2

Lanterns, garlands, pom poms.
I am a nut for any festive and colorful
doo-dad hanging from the rafters.
Inexpensive paper lanterns can be
found in any size and color.
Here is an easy way to personalize
yours with ribbon.
The plain old lantern. As is, off the shelf.
Snooze fest.
Choose a wide ribbon
in a contrasting color.
Measure a length to run
from top to bottom of the lantern.
Using this cut ribbon as a guide,
cut the total number of lengths you need.
I chose to cover each seam on the lantern,
giving me a total of 8 ribbons.
Using spray adhesive,
affix each length of ribbon to the lantern.
I moved outside for this step,
and you should too.
Spray adhesive is amazing but darn stinky! 
My lantern came with a plastic hanger.
Blech.
 I simply removed the plastic hanger,
then replaced with a complimentary ribbon.
A slim ribbon is easy to slip through
the opening, and will look great hanging.
Be sure to tie a knot on each side to secure.
(Your lantern may have a different hanging
mechanism. Just adjust as needed)
I love simple changes that have a big impact!


Monday, June 4, 2012

Ribbon Week!

It's ribbon week.
Not officially or anything.
Not a national holiday.
Just my own celebration of ribbon and its wonders.
Ok-there is a teeny tiny reason. I am throwing my hat in the ring for the May Arts Blog Design Team!
I'm new to the whole design team world, but as you know, always love to share projects.
Also, I am a hoarder...ahem....collector of ribbon.
I buy a lot of it.
Then I stack up the spools in my studio.
And hang up spools of it on my studio walls.
And store bits and pieces of it in bins and jars.
Then lovingly gaze at it.
And, occasionally, even use some in a project.

May Arts is a super fabulous company with oodles of dreamy ribbons in their repertoire.
Just the thing for adding to my stash...ahem...collection.
Cross your fingers (and toes) for me, and enjoy a week of easy peasy super breezy ribbon projects.
My shelves are filled with jars and bottles just waiting for their chance to make it out to a party.
Wrapping them is a favorite way to quickly dress them up to match any table setting or color theme. Yes, I know that I might be slightly obsessed with wrapping objects. (see here and here)
But, you can't argue with the results.
Simply start at the bottom of the jar or bottle, leaving a tail for tying off, or using a dab of hot glue gun to secure. Wrap, wrap, wrap your way to the top, and tie off, or add another dot of glue. Any ribbon will do, but textural ribbon in bright colors will make a big splash on your summer table. Just pop in a few fresh stems from the garden, or let the bottles stand on their own.

Friday, June 1, 2012

Friday is PIE DAY!

Smores Pie: Take 2.
A smashing success!
After last week's failed attempt, these little cuties seemed especially delicious.
I hit upon just the taste and texture combination I was looking for.
Once you try these, you might be tempted to switch to this version for good!
(and no campfire necessary)

Mini S'mores Pies
makes 12 minis

12 prebaked mini pie shells
*see my how to here, or use a store bought variety
12 oz bittersweet chocolate
2 graham crackers
12 marshmallows
-place prebaked shells on a cookie sheet
-melt chocolate over double boiler
-drizzle a teaspoon of chocolate into each shell
-top with a square of graham cracker
-place marshmallow on top
*I used either 1/2 marshamallow, or two halves side by side...just depends on how much mallow you like!
-place under broiler for 3-4 minutes, until marshmallows are browned and bubbly

I devoured two immediately.
I love the taste tower of flaky crust, melted chocolate, little crunch of graham cracker, and gooey marshmallow. Pie and s'mores combined into one taste treat-amazing!
These would be so easy to do for a party or quick summer dessert.
Make up the shell, chocolate and graham cracker ahead of time,
then just pop the marshmallows on top and broil just before you serve.

Happy, happy PIE DAY!
xo Christine