Thursday, September 30, 2010

Creative Connection: The Gala Part 2

At every meal at the Creative Connection, I set up a different vignette at the entry to the ballroom-something to set the mood and give people a little wow as they walked in. For the gala dinner, I had a lot of fun playing with color and vintage goodies. To give a nod to our keynote speakers, Amy Butler and MaryJane Butters, I used a mix of sewing items and farm and garden staples.
 I also included a couple of simple, crafty projects that were inspired by everyday objects. (Ok-I'll also admit that I've been a little obsessed with wrapping things in yarn lately. It's the wanna be knitter in me)

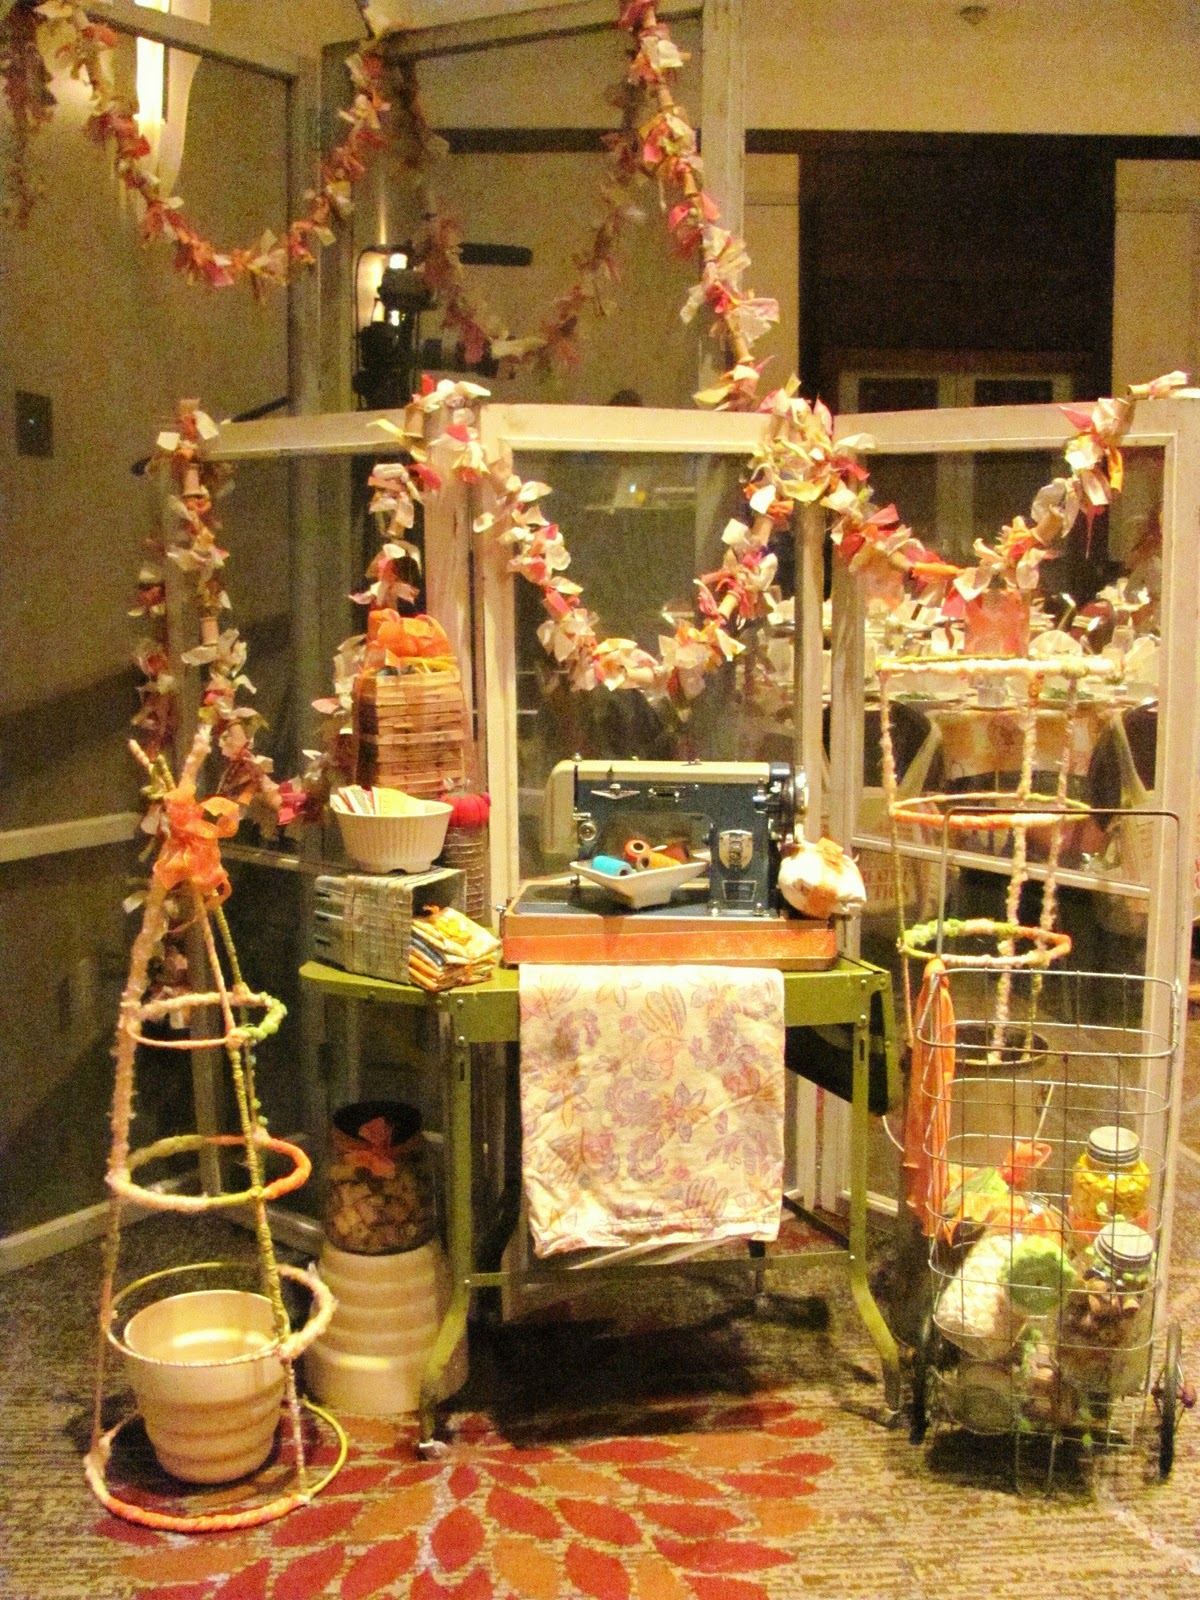
The yard and garden section of home stores were also a big influence on my designs for the weekend. Cheap. Bulk. Two very key words. 50 cent tomato cages seemed to be ripe with possibility. Oh, well, what do you know-seems they are a perfect thing to wrap in yarn. (They'll also show up again later for another centerpiece..) I chose colors that would match my palette, then started wrapping. I tied the end securely to a spot where the metal crosses, then made sure to end up there again to tie it off. If you try one at home, just have fun with different weight yarn, varying thickness and doubling up.
It was very meditative, and I love the final product. My vision was to have tall stemmed flowers pouring out of the top, but I ended up liking them just as they were-one right side up with a planter in the middle, and one plopped upside down in a vintage metal shot bucket. Of course, these would also add a great splash of color to your garden!

If you've been keeping up, fabric scraps have been playing a large role in my Creative Connection designs. Here is another version of a garland, fit for draping over a doorway or festooning your craft room.
I used yarn for a base (it seems I had a little extra lying around), but any twine, string or similar medium would work. This is easy, but labor intensive, so pop in a good movie or queue up some reruns of Project Runway.

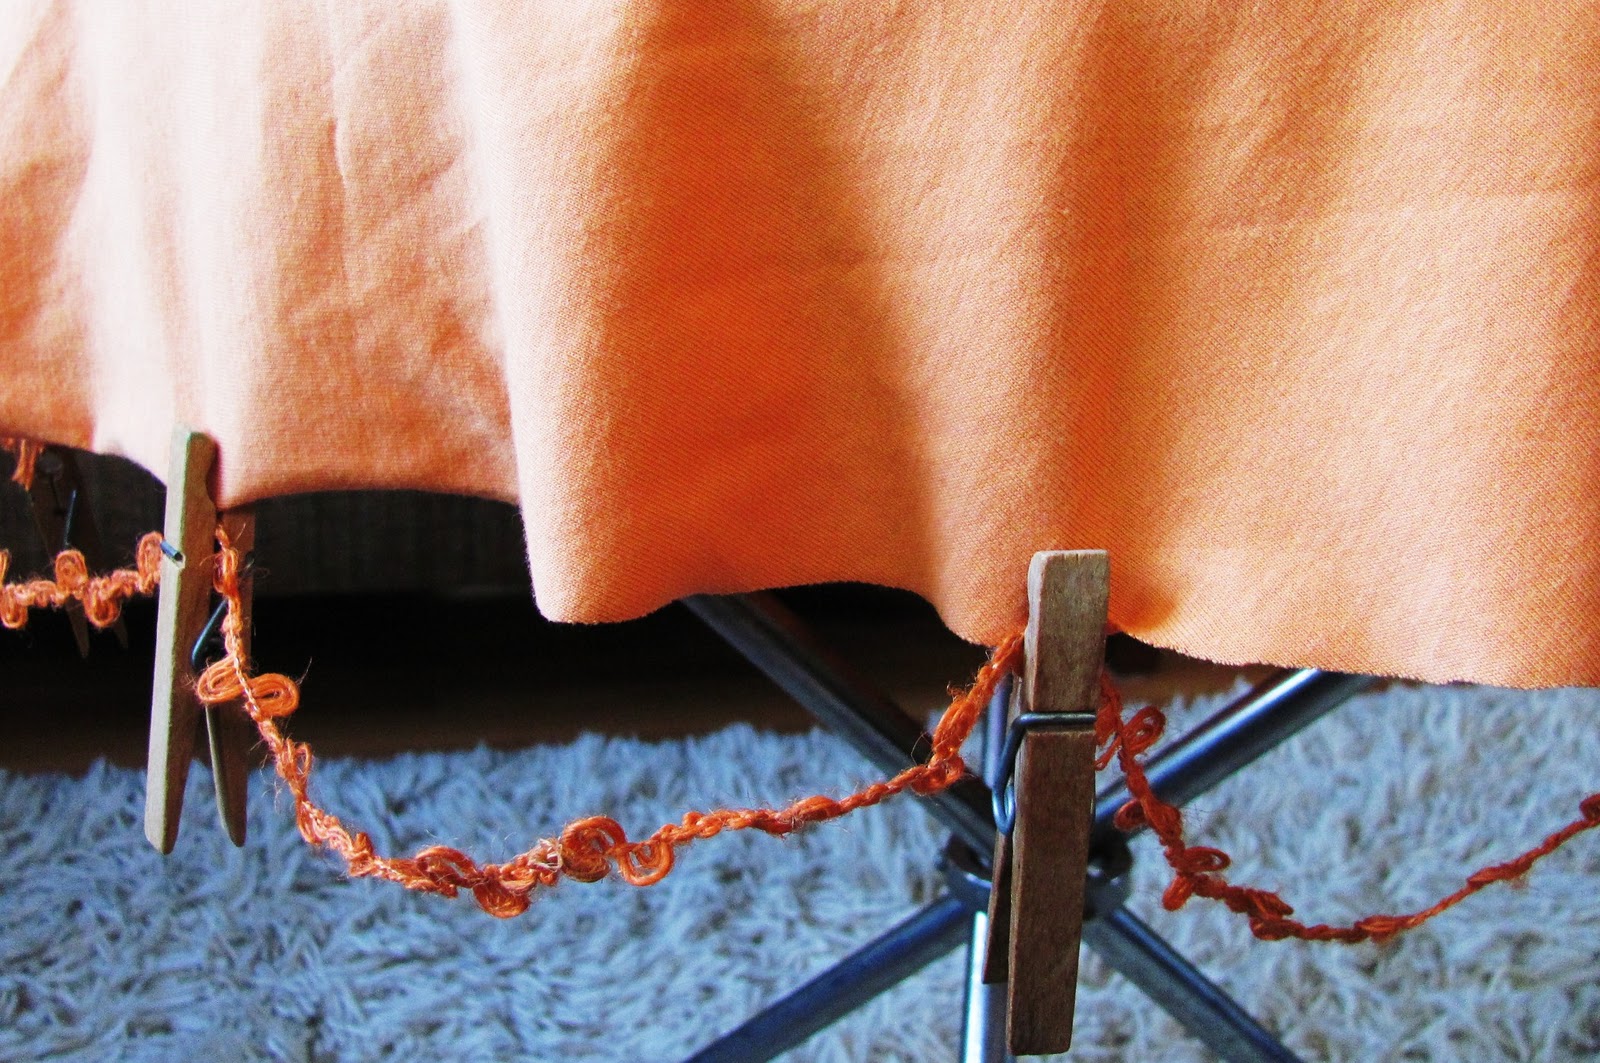
First, cut your yarn to desired garland length, then tie a couple of fabric scraps (cut about 1"wide and 4"long) to secure the end. I also tied a loop on the end of my yarn for hanging later. Now, just alternate tying fabric scraps, threading wooden spools and clipping wooden clothespins.
Once you've reached your desired length, tie another loop at the end. Now you can hang it up and admire it! This is such a sweet example of everyday objects combined to make a not so everyday result.

Wednesday, September 29, 2010

Creative Connection Projects: The Gala!

My ideas for the gala dinner tables changed several times before I came up with one that I really loved. Then I worried that it was too simple. I tried several ways to fuss it up a bit, but always came back to the basic components. It just seemed like a gala dinner should have more elements or be more complicated. Then my husband gently reminded me that sometimes simple really is best. (He was my sounding board for much of my design for this event, and was always patient and had fantastic input. Love him.)
Amy Butler donated this lovely fabric for our table linens, and I really wanted to leave the focus on the print and colors while adding just the perfect accessory-you know, that thing that pulls the outfit together and makes it look just right.
Inspiration struck at IKEA (seriously, what did I ever do without this place in town?). These placemats (2.49 for a pack of 4) grabbed my attention, and I whipped out my fabric swatch. Perfect. The colors were similar enough, but not matchy. They were also deeper tones, to keep the whole look from becoming too pastel.
I loaded up the cart and headed home to experiment.
Without cutting or altering, I used two placemats and some double stick tape to create a cylinder that I thought would look fabulous in the middle of a table.
To hide the seams, and add another layer of pattern and color, I tied on lengths of some more great Mayarts ribbon.
Next, I experimented with several options for a base. Trays, fabric, yarn......hmmmmmmm. Luckily, the dollar store came to the rescue, as it so often does. Fairy wings in a perfect array of colors created lovely "petals" to frame my centerpiece.
Three components + tea lights= centerpiece for $2.25!
As I hoped, the colors blended perfectly (even with the ugly hotel chairs-sorry Hyatt) and the candles gave a warm glow to the whole room. Simple, yes, but stunning.

Monday, September 27, 2010

Creative Connection projects: Part 2

An impressive array of authors signed books on the first night of the Creative Connection. Coverings for 28 bar tables were a bit daunting for a person with no sewing machine, but I was up to the challenge. For me, fabrics that look good with a rough cut edge or have a finished look without hemming are life savers. In this case, jersey fabrics came to the rescue. Their cut edges are very forgiving.

Once I had my table toppers cut to size, I dressed them up with a couple of very simple treatments.
In a previous post on collecting, I showed off my vast selection of clothespins. Not only are they fun to collect and display, but they can be put to work from time to time.
Colorful plastic versions got a dose of cute with a couple of fabric scraps. (ah, yes-more fabric scraps....)
Just thread a couple of small lengths of scrap (about 6-7" long) through the clippy part, then clip them to the edge of your tablecloth. Instant! Super cute!
I used wooden clothespins to clip lengths of ribbon that looped their way around the perimeter of the cloth. Simply clip and drape as you go.
Mayarts was kind enought to donate this fabulous burlap loop ribbon for the event, and I feel in love with it.
It was the perfect wrap for vintage medicine bottles. I simply twisted a starting loop, wrapped the bottle, then secured the end. This ribbon was wired so it was easy to secure, but you could always use a dab of glue if necessary. Yarn, ribbon, twine or rick rack would all work well for this project.  Sweet and simple, this vase looks great with a single stem.
My apologies for not having photos of this stuff in action at the actual event. After I finished my decorating frenzy, I rushed off to gussy myself up for the big gala dinner, and completely forgot to take photos. If y'all have any, please feel free to post a link!
Christine

Friday, September 24, 2010

Friday is PIE DAY!

Chess pie has many variations, and I tend to like a classic version the best. Adding chocolate, however, really couldn't be a bad thing, could it? So, today, I tested out my version of chocolate chess pie. Variations within this catergory also abound: cocoa or baking chocolate, evaporated milk or whole milk, cornmeal or none. Personally, I don't think you can really call it a chess pie if it doesn't have at least a smidge of cornmeal in it. I've only made this pie once before, and after taking the first couple of bites, I'm not sure why that is. It is quite divine. A ever so slightly crispy crunchy top (like the top of a really good brownie) gives way to a rich, buttery gooey bottom layer. All of this wrapped up in a flaky crust makes for a mighty tasty pie. In fact, forget all of those other variations. I've settled on this version as my favorite. I highly recommend eating it while it is still a bit warm. Heavenly!

Christine's Chocolate Chess Pie

1 9" pie crust
1 cup sugar
1/4 cup brown sugar
3 T cocoa powder
1 T yellow cornmeal
1/8 t salt
6 T butter, melted
1/2 cup milk
3 eggs
1 T vanilla

-mix dry ingredients together in medium bowl
-add butter, milk, eggs and vanilla
-beat for 3-4 minutes, until well combined and smooth
-pour into prepared pie shell
-bake at 350 degrees for 40 minutes, until crust forms on top and crust is lightly browned
Easy as pie!
Happy PIE DAY!
Christine

Thursday, September 23, 2010

autumn in the garden

(hey-there's that bucket sneaking in again:)

Today is a warm and rainy autumn day. It's quite lovely and cozy, but yesterday was one of those perfect midwestern fall days. The dappled sunlight and crisp air encouraged me to take some shots of my autumn garden.
A few annuals that were lovely all summer had faded a bit in these shorter days and cooler temperatures. To spark up my planters a bit, I removed the plants that had seen better days, then filled in with a selection of mum plants. Here they nestle in with bright coleus and deep purple sweet potato vine. It was an instant mood lifter for the garden and for me.
The front garden shines every fall with these bright, contrasting hues of
chartreuse creeping sedum and purple upright sedum.
Another mum plant welcomes visitors to my front door.
This is Pumpkin, our rent-a-kitty. He lives next door, but spends most sunny days lounging on our deck.
We think that he must know how well he fits into the color scheme.
Another sharp contrast of deep red penstemon and bright yellow-green tansy leaves! I cut this tansy back after the blooms faded in August, and it graced me with a new growth of this sparkling foliage for fall.
Cutting back blooms after their peak will often give you double the pleasure. Many plants, including coreopsis, foxglove, and perennial geraniums, will bloom a second time.  Others will just shoot up new leaves, adding a freshness to your late season garden. Additionally, leaving some of your 'spent'  perennials untrimmed (like the penstemon above) will add color interest and texture to your fall, and even winter, garden.
Sweet potato vine is such a lovely addition to planters, and it's colors change over the course of the season, adding new interest. This one has taken on autumn hues of buttercup and bordeaux.
What's in your autumn garden?

Wednesday, September 22, 2010

Creative Connection projects: Part 1

(There are two people sitting behind this cool table runner-their identities will be revealed in a later post..)
As a person who does not sew, I have become quite crafty at devising projects that involve fabric, but no sewing. I love fabric and buttons and trim and all of that other stuff that goes along with sewing, just not the sewing part. Stacks of fabric line my studio shelves and baskets of scraps are piled up everywhere. For the Creative Connection tables, I used up a lot of my scraps making fun and easy projects to set the mood for the event.

For a simple, but stunning, table runner, fabric strips are tied onto a length of landscape fabric.
In this case, the landscape fabric was cheap, in bulk and the right color for my project.
You could also use fabric, or sheets, or whatever you have hanging around.
Simply use a hole punch along the edge of the fabric piece,
then tie strips of fabric through holes.
I used these same strips of fabric to dress up galvanized pails.
This is so super cute...I want these buckets everywhere.
For the CC, I filled them with happy and seasonal mum plants, but you could
stick anything in them and it would look adorable.
In fact, they would look adorable with absolutely nothing but air in them.
It's true.
My original intention was to show off the sweet knotted fronts,
but I also love the look of the stripes created on the other side.
Which is your favorite?
With the leftover odd-sized pieces of fabric, I tied up one big garland.
This is such a wonderful way to use up odds and ends.
Set a color palette, or just mix and match like I did.
The end result is a wonderfully haphazard, chunky, yummy color and texture mash.
Hang these up for a party or just dress up a front porch or craft room.
Fun, fun, fun!
My fabric scraps will surely be put to good use now-there is no stopping me!
Who needs a sewing machine............

Tuesday, September 21, 2010

Order in the House.

When I am away from home or unable to spend time doing those day to day chores, I end up feeling a bit lost and discombobulated. The Creative Connection event was such a wonderful opportunity for me, and such an amazing experience. My house, however, suffered the consequences of my devotion to this event in the past weeks. I love the lead up to a big event, all the preparation and planning. I also, equally, love the come down from an event-the chance to recover and reinstate oneself into the everyday, to establish a bit of routine again. Piles of laundry, dust bunnies in the corners, and waiting grocery lists are all welcome to me. I feel the need to tackle some of them before I can move on to the next project. It allows me to stew a bit on all of the creative craziness that I just encountered, then refocus on things to come. Cleaning lets my mind wander and reflect, and organizing enables me to start fresh with new creative projects.  My space absolutely needs to look tidy and beautiful in order for me to create.
I am fully aware that not everyone functions in this way. Many of you may flourish best in complete, or partial, chaos. Some of you, like me, may need counters cleaned, laundry done, and ducks in a row before you can move on. What kind of environment do you thrive in? What makes you tick-order or chaos?
Christine

Monday, September 20, 2010

Creative Connections

I'm back. Remember me?
The Creative Connection event has been keeping me away,
but we are wrapped up now, and I have so much to share.
Yesterday I spent the day catching up on sleep and calories.
Today I am organizing the studio and making lists of all the
inspiration, people and ideas that I must blog about in the coming weeks.
I can also finally share step by step details of all the super secret projects
 that I was working on for the event!
Christine

Monday, September 6, 2010

The big weiners!

My very first blog give-a-way is complete, and the winners have been selected!
The sweet, yet flirty, ruffled apron goes to:
MIKE H.!

                The classic checked apron goes to:
                  LORI A.!

And....the lovely tulip apron with the unusual cut
(which many of you pointed out would be a slimming feature) goes to:
MARIA S.!

Hip hip hooray!
Thanks for your sweet comments and your love of pie and aprons (and Pies and Aprons)

Christine

Sunday, September 5, 2010

Friday is PIE DAY!

Yes, I know that it is Sunday. I made the crust on Friday, the pie on Saturday, and the blog post on Sunday.
It's just an all around pie weekend!

I was so delighted to be baking pie again, and especially delighted to be eating pie again.  It had only been one skipped week, but it felt like ages to me. Pie is part of our life.

This pie is a perfect late summer pie. It still has that sharp, sweet summer berry flavor, but this is mingled with a richness that heralds slightly cooler days. A recipe that I browsed some time ago inspired me to try the fig and raspberry combination. Fresh figs are a fleeting late summer treat, and I really do love them. My usual fig pie involves walnuts and crumb topping, so I gave a nod to that favorite in this recipe.
For my pie, I used a double crust rolled out to form one big crust.
After filling the pie, I flopped the edges over on top, "rustic style".
Then, I just spooned the crumb topping onto the open circle in the middle of the pie.
I wanted mostly crust, with just a bite of two of the crumb topping.
You can opt for a one crust pie and top the whole thing with crumb mix (if that is the case, then double the crumb topping amounts in the recipe below).
Another option is to make a two crust pie, skipping the crumb mixture all together.


Fresh Fig and Raspberry Pie

2 cups fresh figs, stemmed and quartered
2 cups fresh raspberries, rinsed and patted dry
1/2 cup white sugar
1/4 cup brown sugar
2 T honey
3 T flour

Crumb topping

4 T butter, melted
1 T brown sugar
2 T flour
1/2 t cinnamon
1/4 t nutmeg

-combine fruit, sugar, honey and flour in large bowl
-stir until combined
-spoon into prepared pie shell
-mix crumb toppings together in small bowl
-stir until combined
-spoon onto top of pie filling
-bake at 350 degrees for 55 minutes

Wednesday, September 1, 2010

Happy One Year to me (and you!)

Yes, I'm still here.
Life has been a little (lot) crazy and I've been neglecting
Pies and Aprons. and you.

Today I am back and celebrating the one year anniversary
of Pies and Aprons. Please feel free to let out a celebratory whoop!

You can let out another whoop as I announce, in honor of the occasion,
my first giveaway.
Three lucky readers will receive one of these lovely vintage aprons!
To enter the giveaway, leave me a comment telling me which apron is your favorite
and what your favorite pie is.
You also have two other ways to enter for more chances to win!
*tell me that you are a follower of Pies and Aprons
*share the contest on your blog or Facebook page
Have your entries in by Sunday, September 5th!

My first post was about rituals and new beginnings, and those lovely feelings of fresh possibilities
are starting to swell in me as the season is poised to change.
Hope you're feeling the same.
Happy September, and
Happy One Year to us all. (because this would be silly without y'all)
Thanks for checking me out.